
“A seamless bridge between traditional horn craft and the modern maker movement, Jacob is the next generation of great American horn builders.”
I started with a question
"Why haven't horns improved in the age of advanced manufacturing?" Retailers and manufacturers tell us that new technologies are making better horns, but any player can tell you that this is not true. If the horn really is just about specifications and mathematical tapers, why are companies with millions of dollars in machinery and skilled engineers not able to produce elite quality horns?
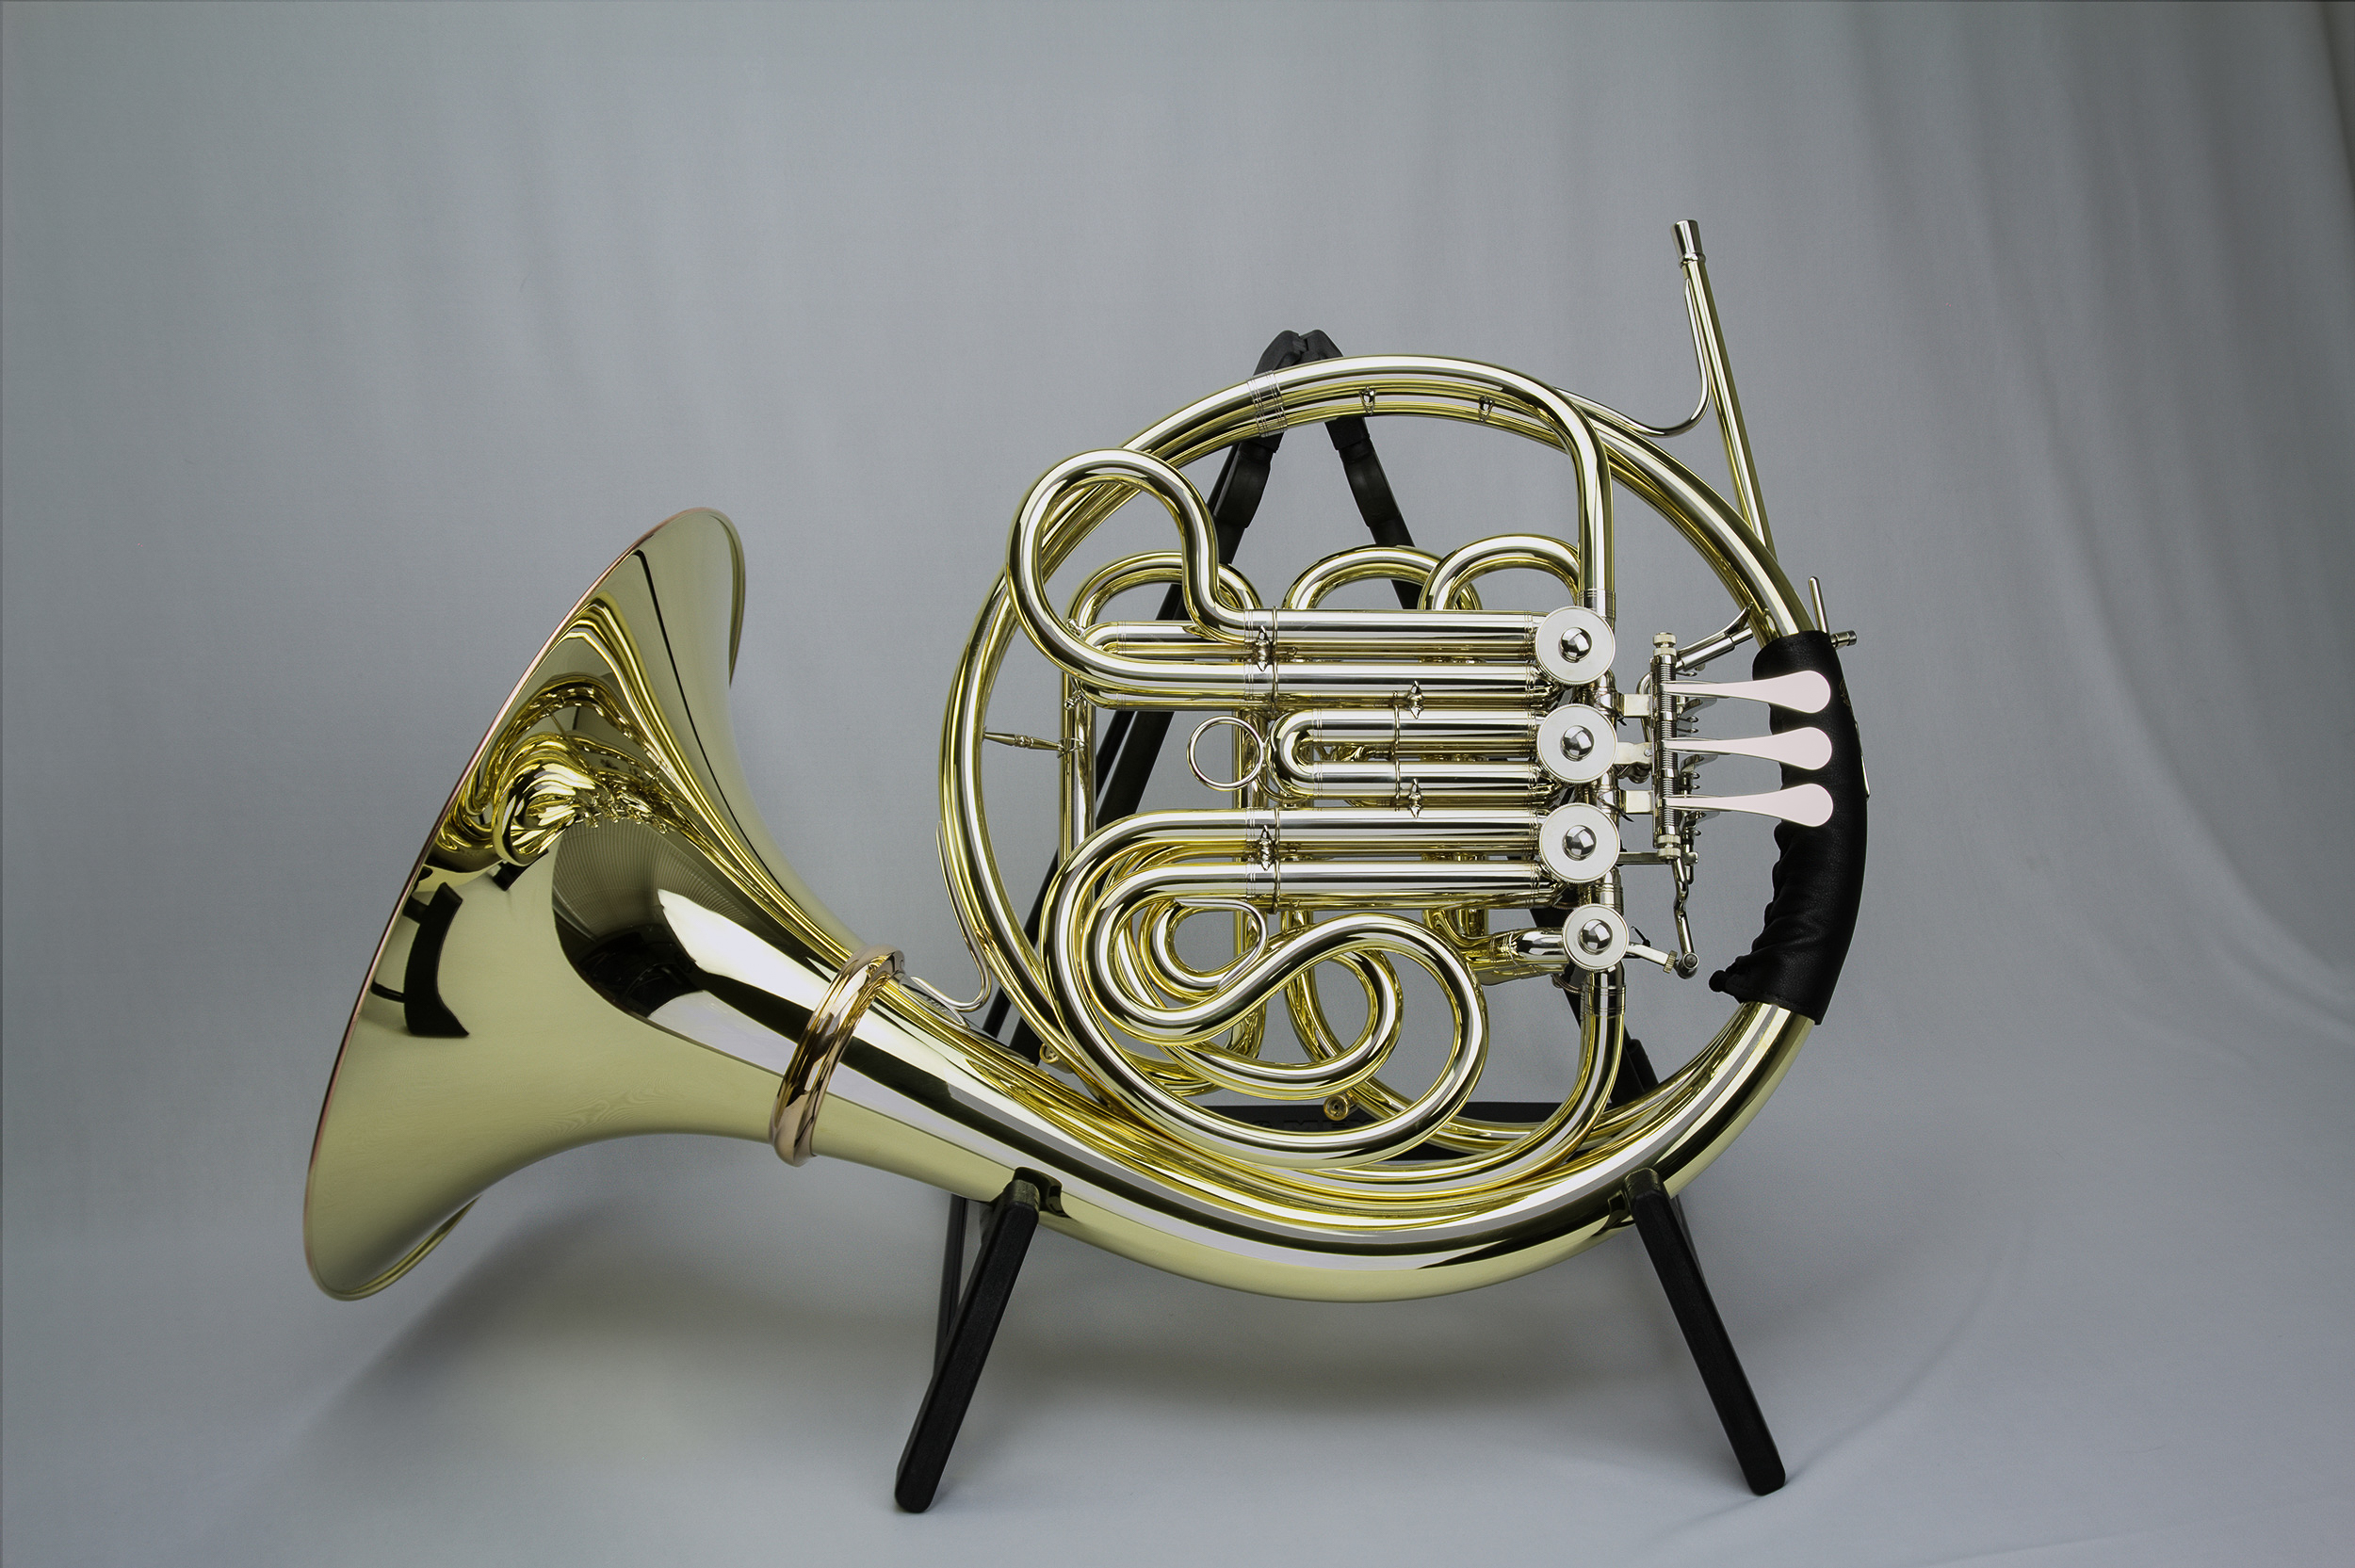
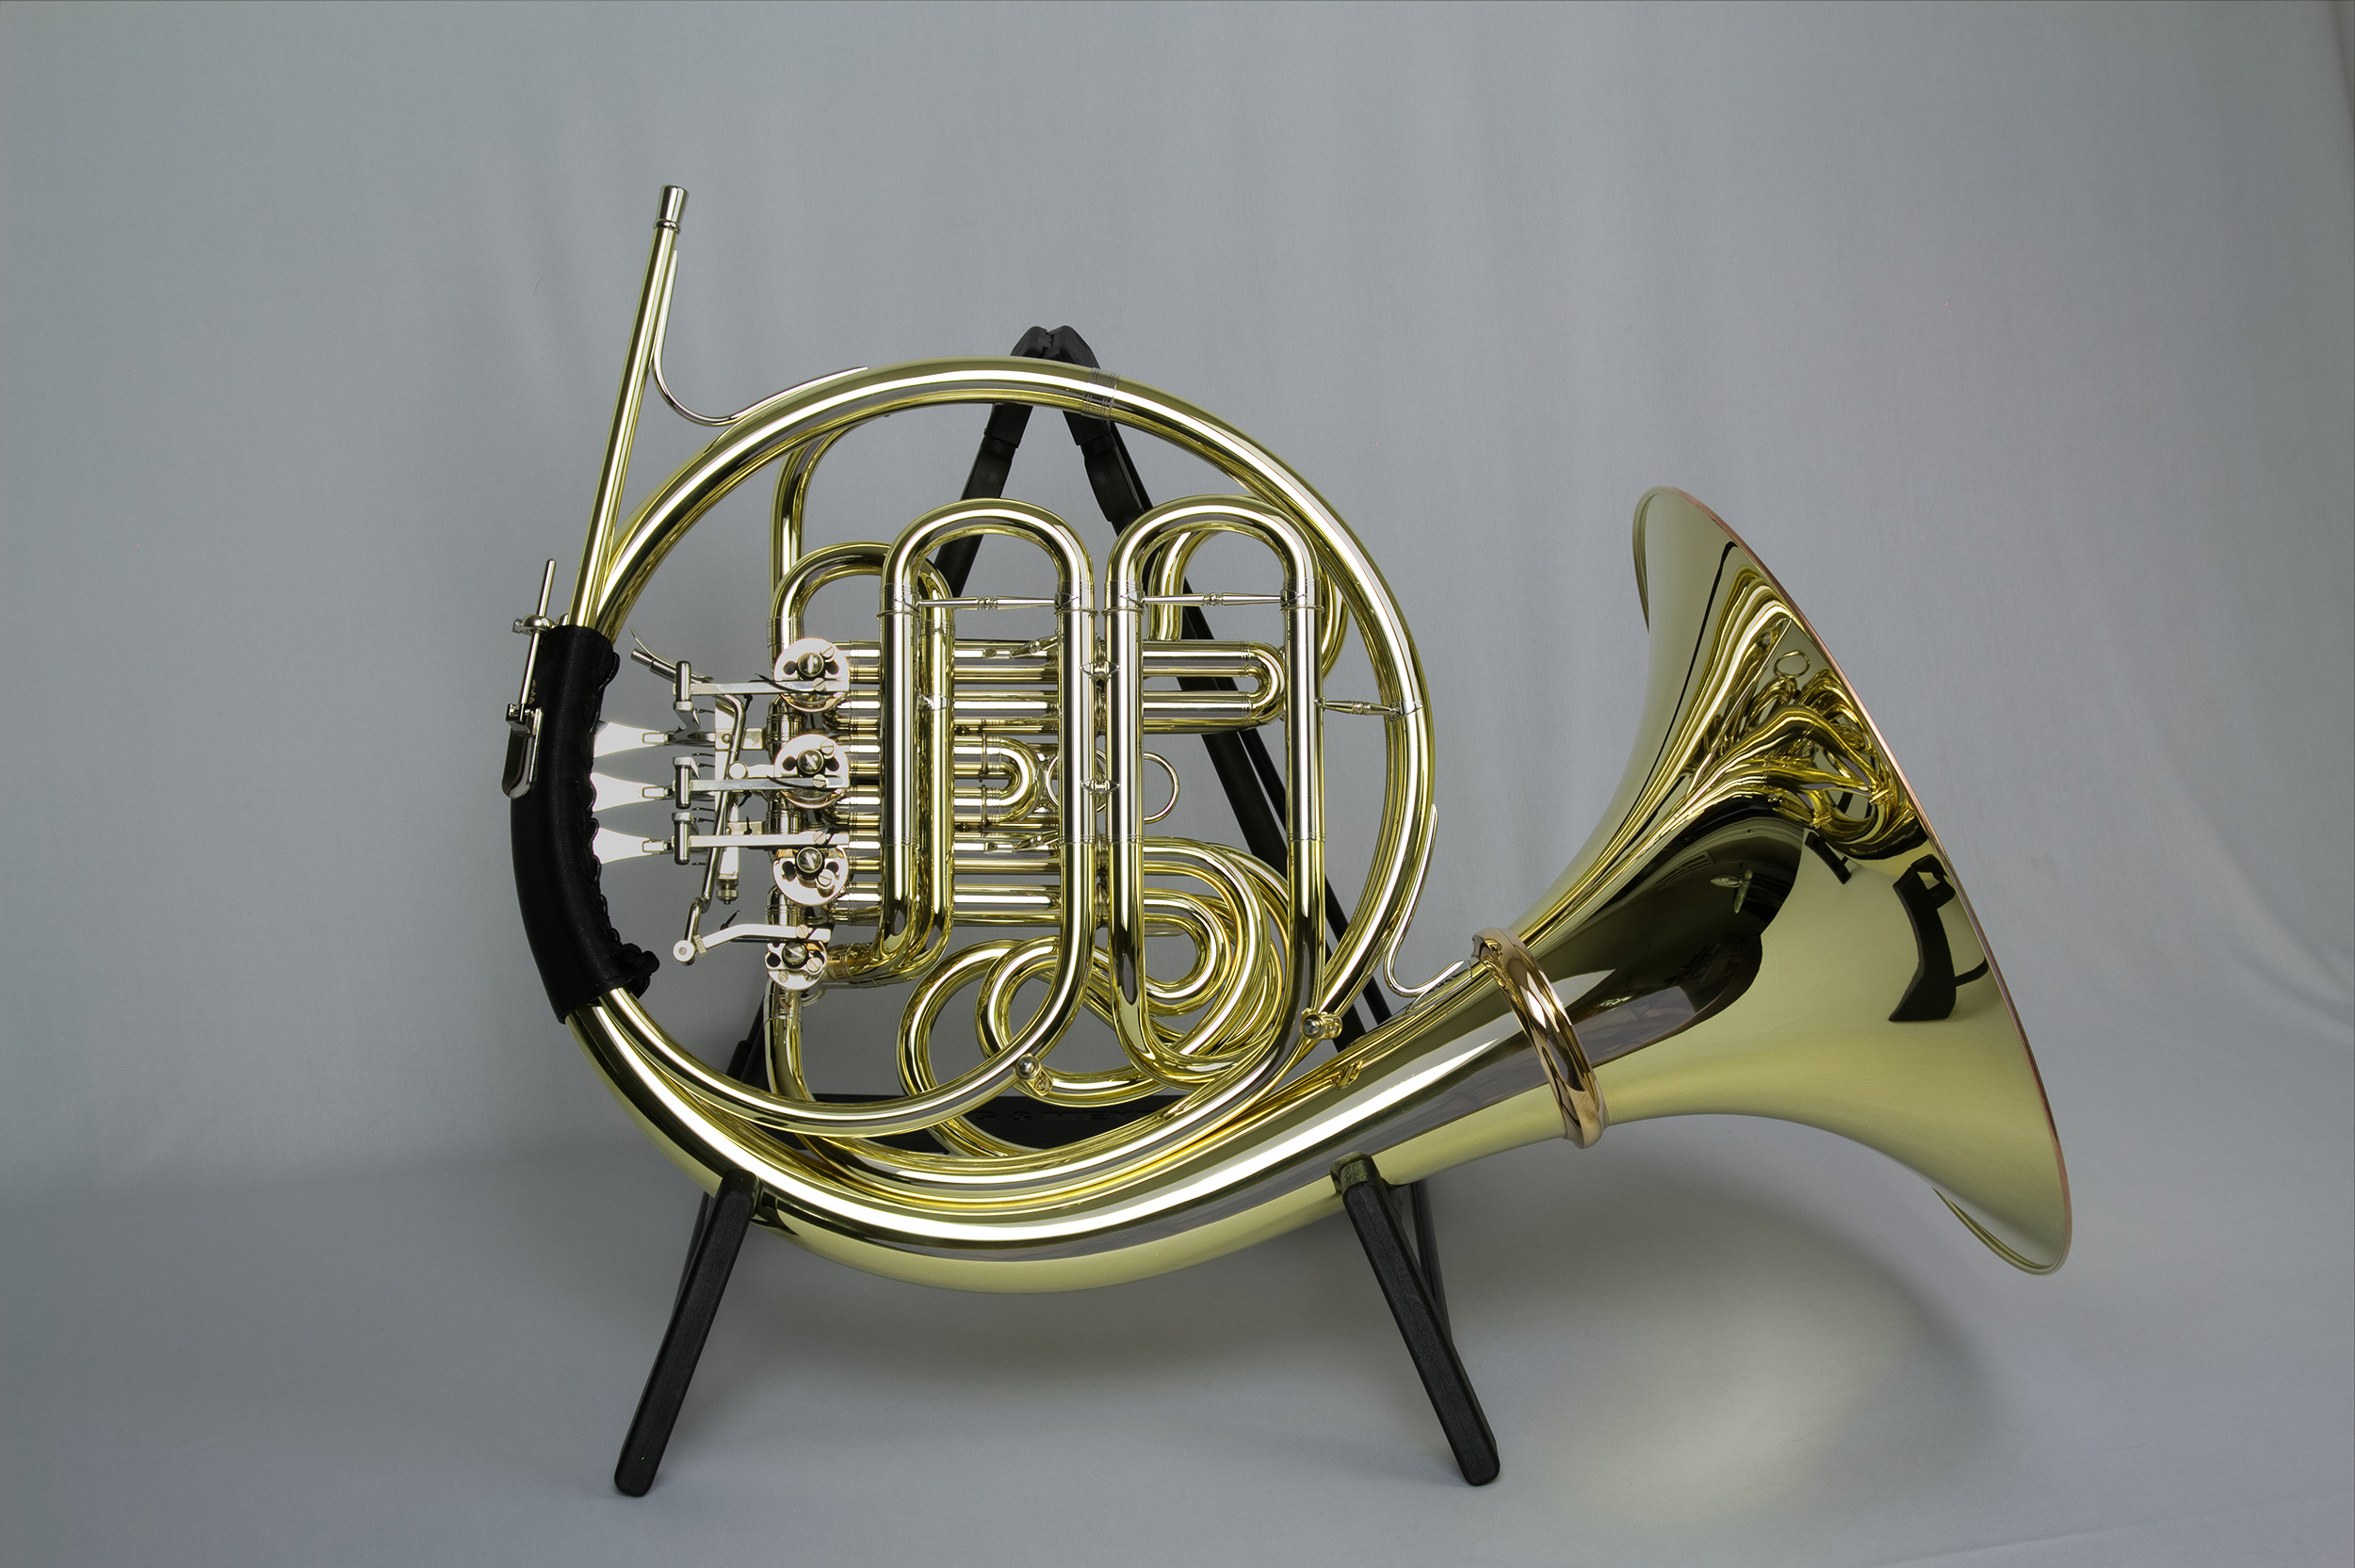
The answer is that hand craft still creates magic in horns that robots and assembly lines haven't captured yet. I saw a glimpse of this studying natural horn designs and build methods during a three year apprenticeship under Rick Seraphinoff. Using that foundation in handcraft, I broke apart the design and process behind modern horns and began to ask honest questions about each part and each technique. I decided some techniques were absolutely essential to be done by hand. For other techniques I designed processes, tools, and fixtures to add speed and consistency.
The result is a horn which is built using the best qualities of traditional handcraft while leveraging the most useful parts of the modern makers movement. I balance hand fitting and adaptive design features with 3D CAD models and CNC. I work tirelessly to perfect and improve my craft so that you can improve and enjoy yours!
“Every note responds incredibly easily, the intonation is fantastic, the range of dynamics and richness of tone are unparalleled in my experience. Jacob is a true artisan!”
What my horns will do
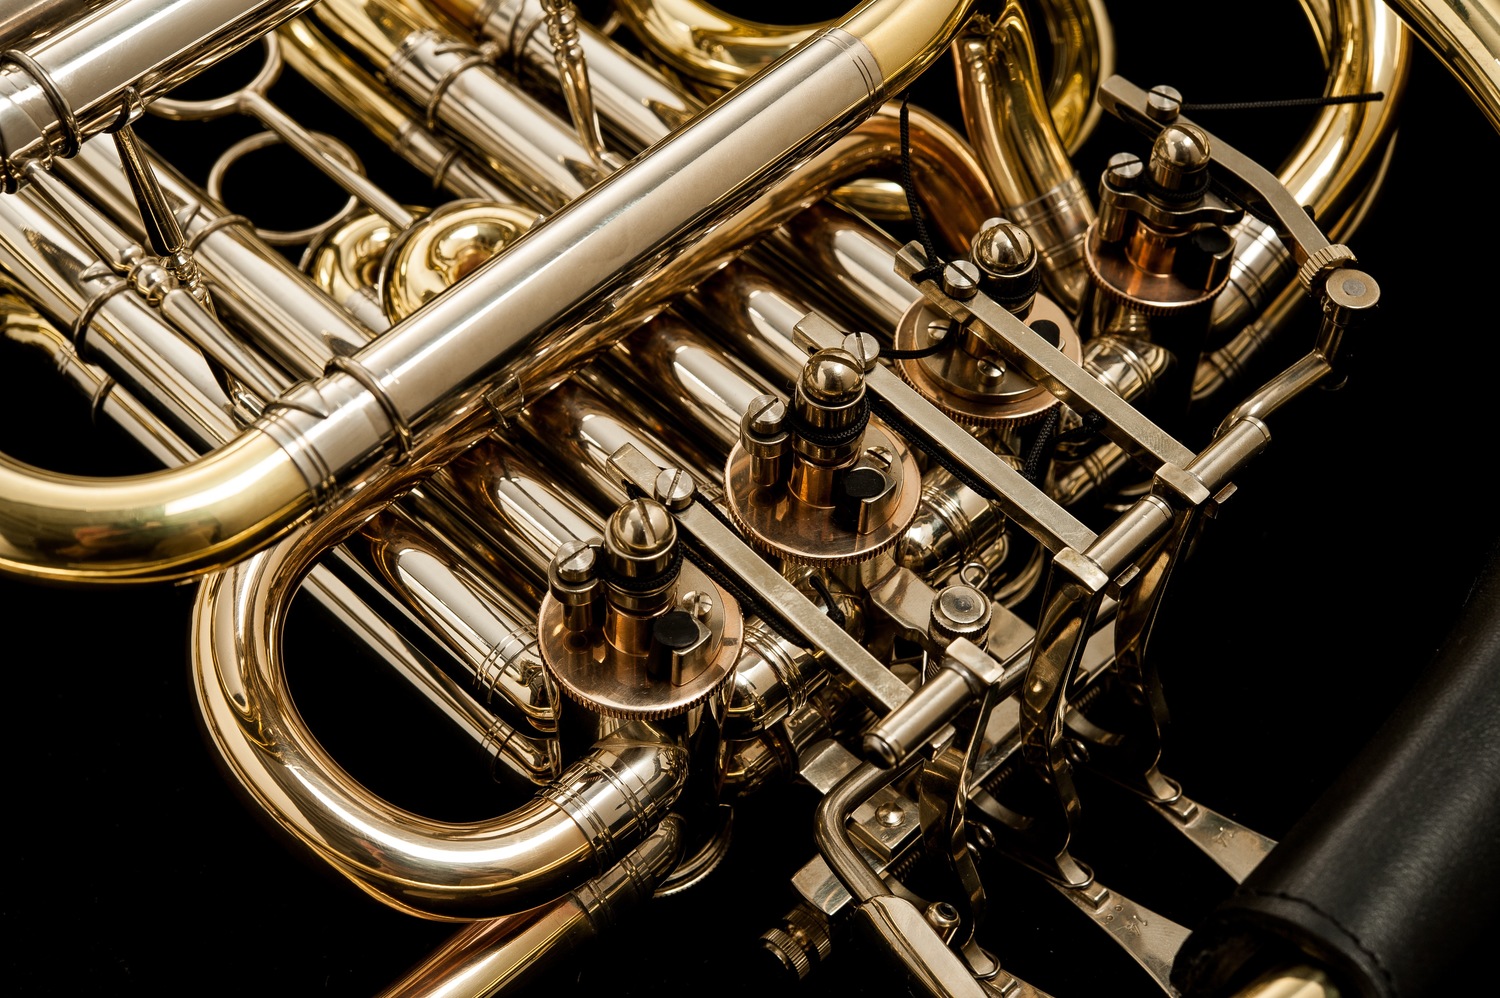
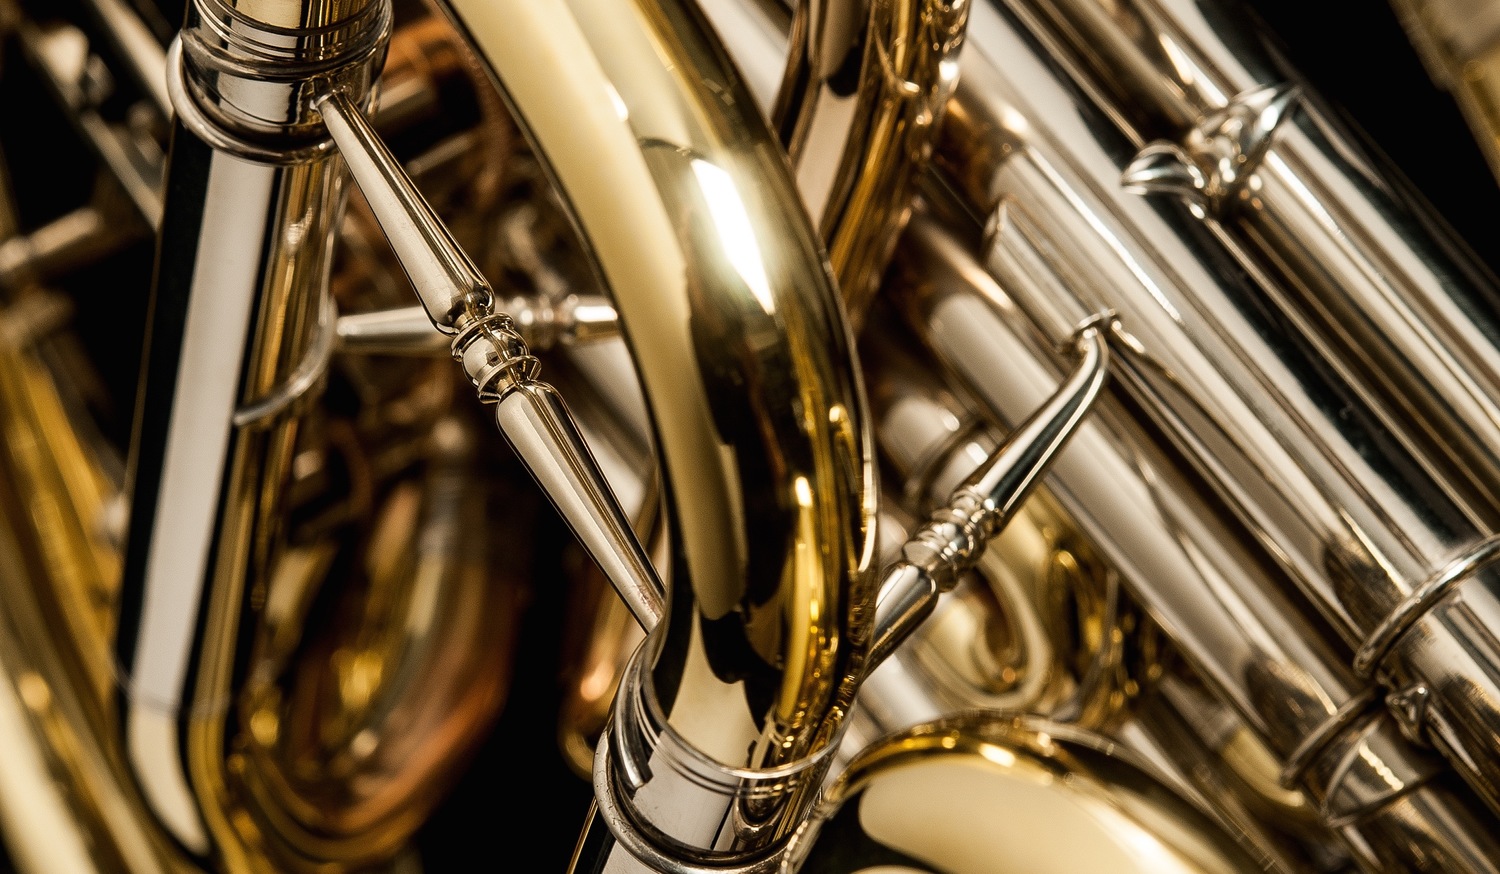
In the past, players were forced to choose between horns which favored either the high or low range, or the bright or dark end of the tone color spectrum. Using metallurgical tempering techniques and good architecture design, I have significantly reduced the differences in feel between the octaves, and matched the Bb and F sides much more closely. Additionally, the extremes of the dynamic range from ppp to fff are more controllable with less effort. Regardless of any individual characteristics that a horn of mine might express, you can count on enjoying the following:
Purity of articulation. My horns have just the right amount of resistance to allow for pure articulations. This eliminates the burbles that sometimes occur and even reduces the appearance of spontaneous note chips.
Clarity of sound. Often horns that are clear up close, sound muddy in a hall. This is because different overtones have different projection potential. By maximizing the frequencies that project, and minimizing those which do not, I can give the horn a clear sound for the hall.
Smooth note changes. I've always believed that jobs are won and kept with the beautiful excerpts rather than the technical ones. By removing the bump between notes, the player can focus on the music, and not the technique, for playing lyrically.
Perfect intonation. The tapered sections of the horn correct the intonation issues inherent in a straight pipe. I work on my tapers solely for intonation and control the resistance and character of the horn in other places. This ensures that every note is where it is supposed to be and that chop micromanagement is not necessary to pull notes in tune. This reduces the effort to play the horn and extends endurance and efficiency.
“Jacob has built a light, responsive horn that still has carrying power and beauty of tone. I was proud to inaugurate my horn with the Schumann Concertstück, and it sailed through the piece with ease. Bravo!”
FINE PLAYERS DESERVE FINE HORNS
The best players sound great on any horn. But just imagine what is possible when you find a horn that shares your voice and allows you to focus on the music. Use the form below to start on the way to your new Medlin horn!